
A Two For One Hack
 I wish I could give credit where credit is due for the first part of this hack, but it’s something I’ve been using for so many years I’ve completely forgotten. I’m going to attribute it to my father because he is very much a function over form type of person, and this seems like just the thing he would have passed on to me when I was a kid. If you have a rip in your clothes, a button fell of, or something that needs particularly sturdy patching, replace your standard thread with dental floss. Unlike regular thread, dental floss is substantially stronger, making it far less prone to accidentally ripping. Both the waxed and unwaxed work well, though you can decide based on how it’s going to be used.
Because I don’t use a dryer, I don’t have any concerns about the wax melting when clothes are being dry, but the temperatures are something to keep in mind when deciding. I always seem to have plenty from check-ups at the dentist, just don’t forget to use it for your teeth too. I try and keep a needle and some dental floss handy for whatever crises or projects pop up, which leads me to the second half of my DIY hack.
Messenger bags seem pretty trendy for Gen Yers. While they may not be as nice in terms of proper weight distribution, they’re convenient and often far less clunky than backpacks. The problem is that sometimes they can be tough on your shoulder or back and if you’re biking, eventually they’ll slide all the way ’round your body until they settle at the least comfortable position possible, ensuring that your knee will be knocking against it with every pedal.
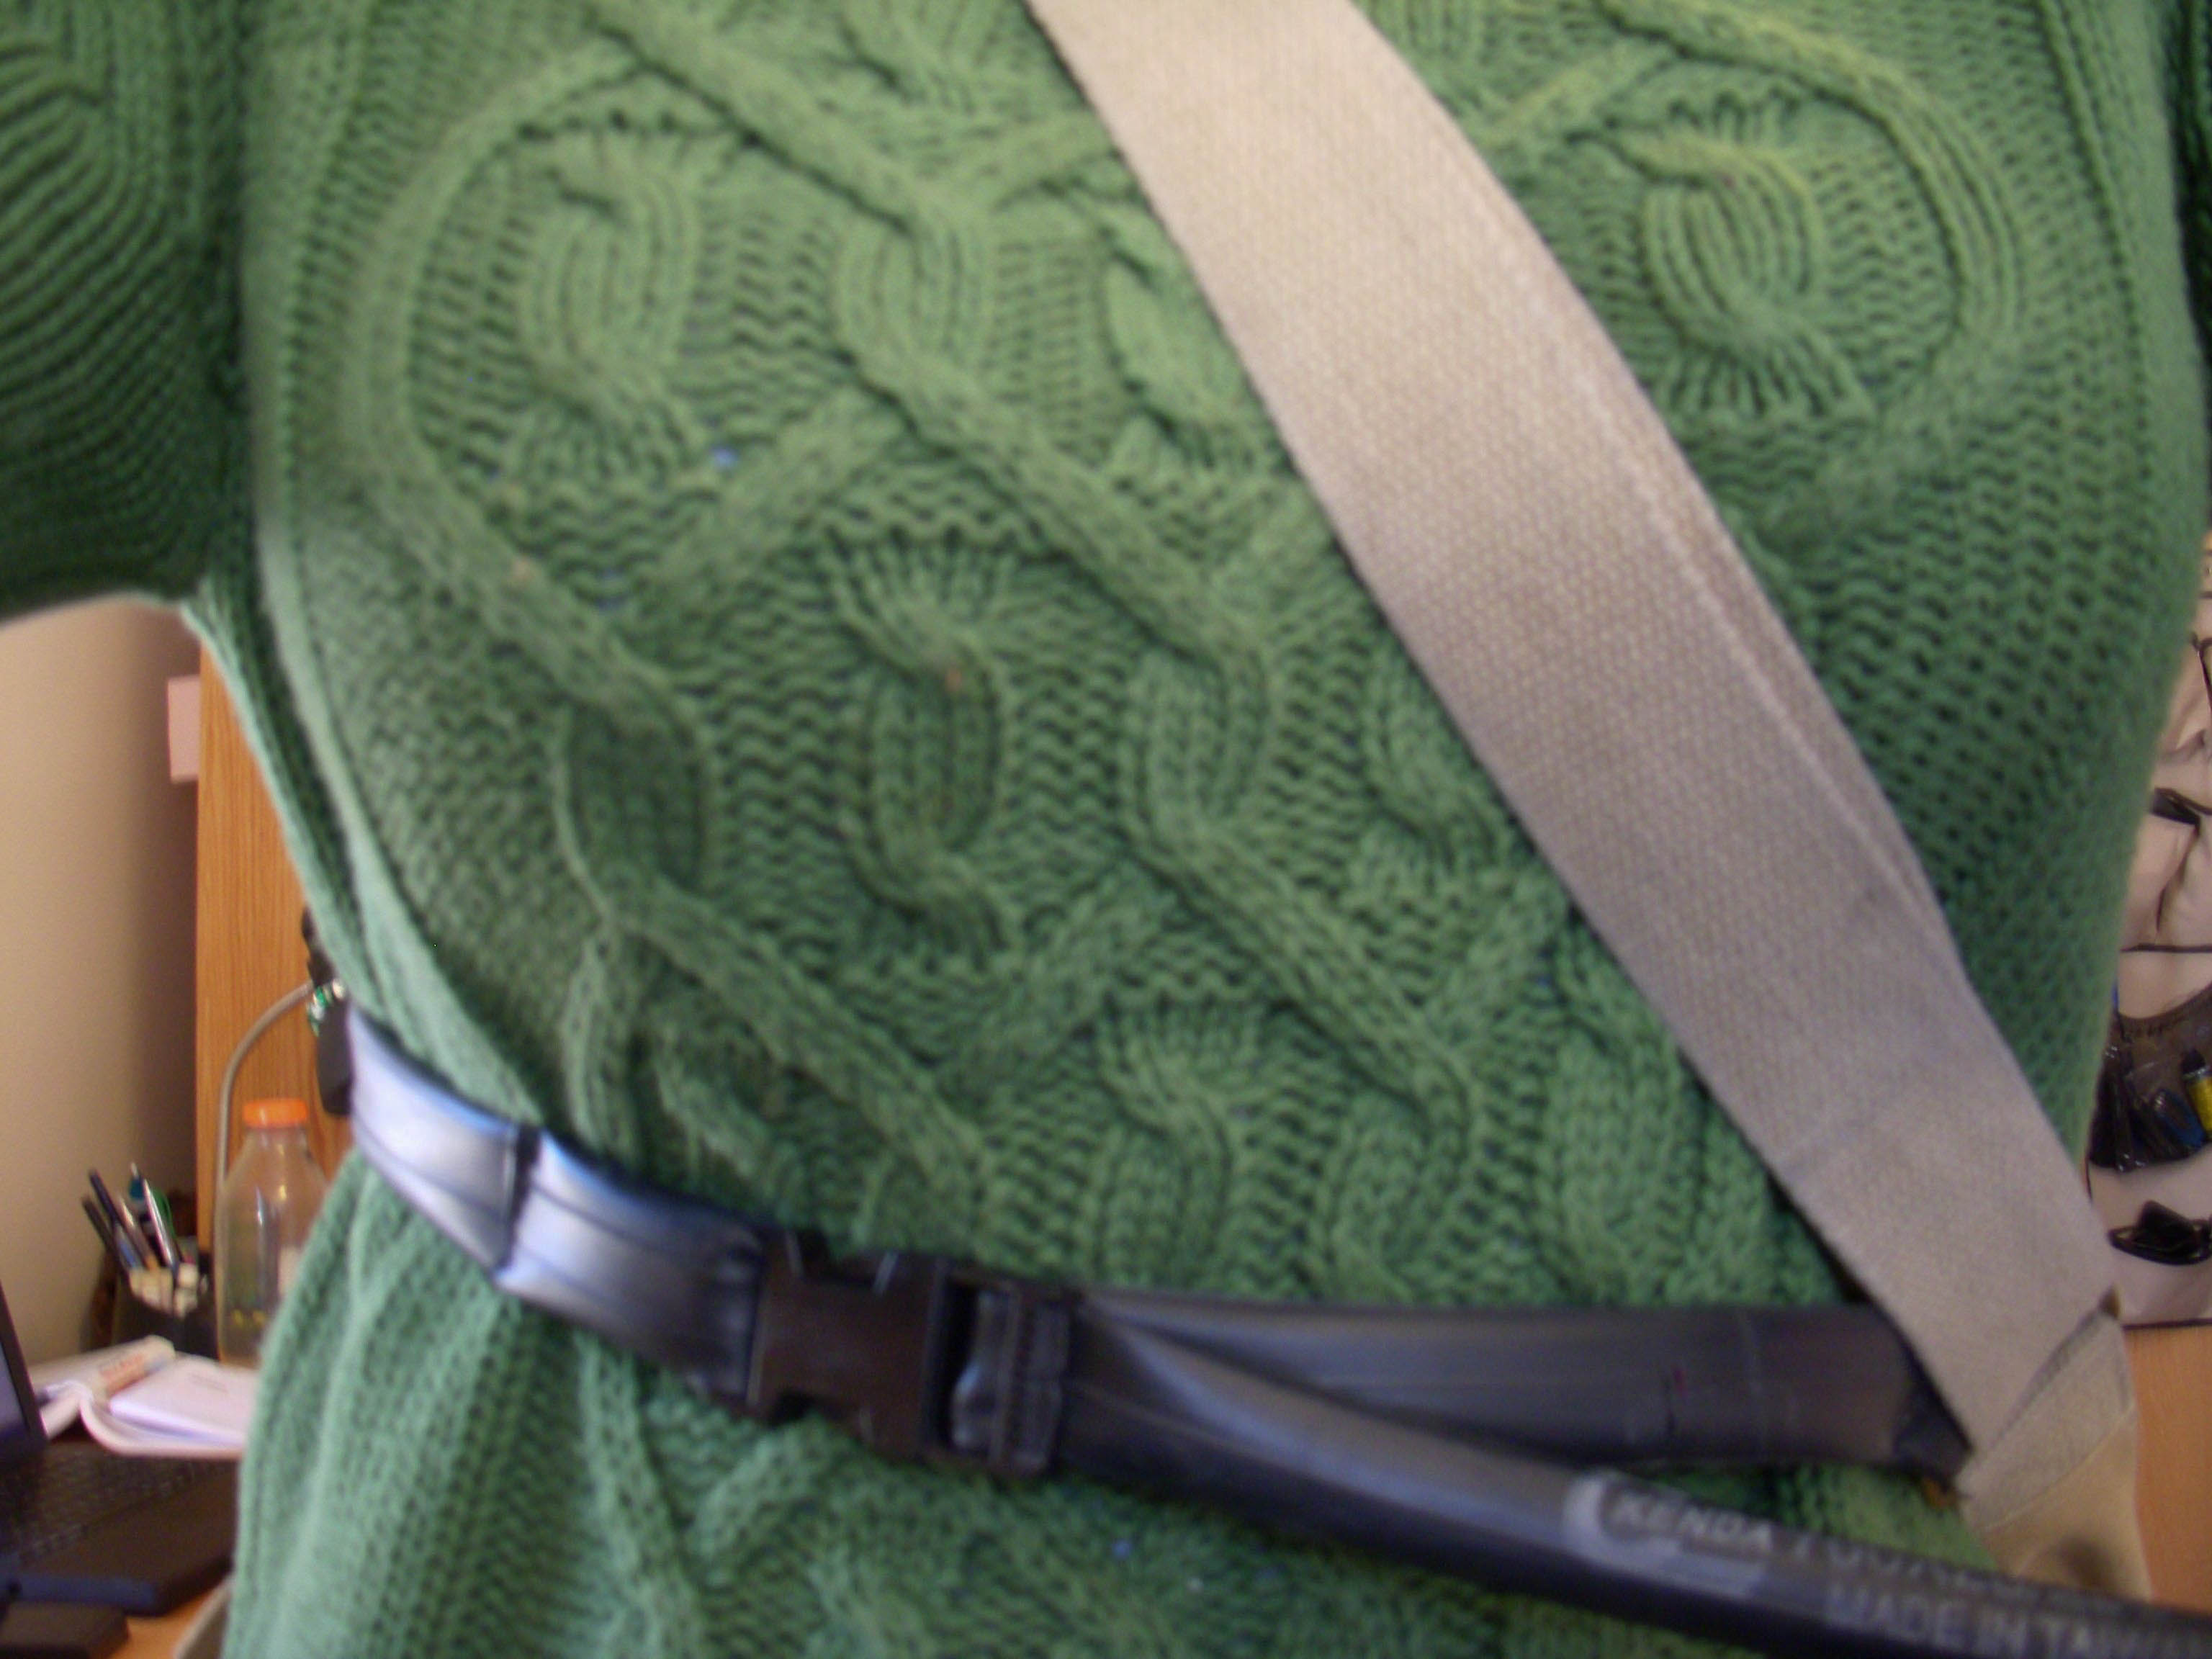
 The solution? Grab a needle and some of that dental floss and an old tube. I used a tube from when my road bike tangled with a nasty curb and lost but mountain bike tubes would work equally well, they’d just be thicker. First, cut out the section of the tube with the valve. Take one end and tape it to the fixed end of the shoulder strap, measure out a length that goes approximately to your midline when wearing the bag and cut, allowing about two extra inches.
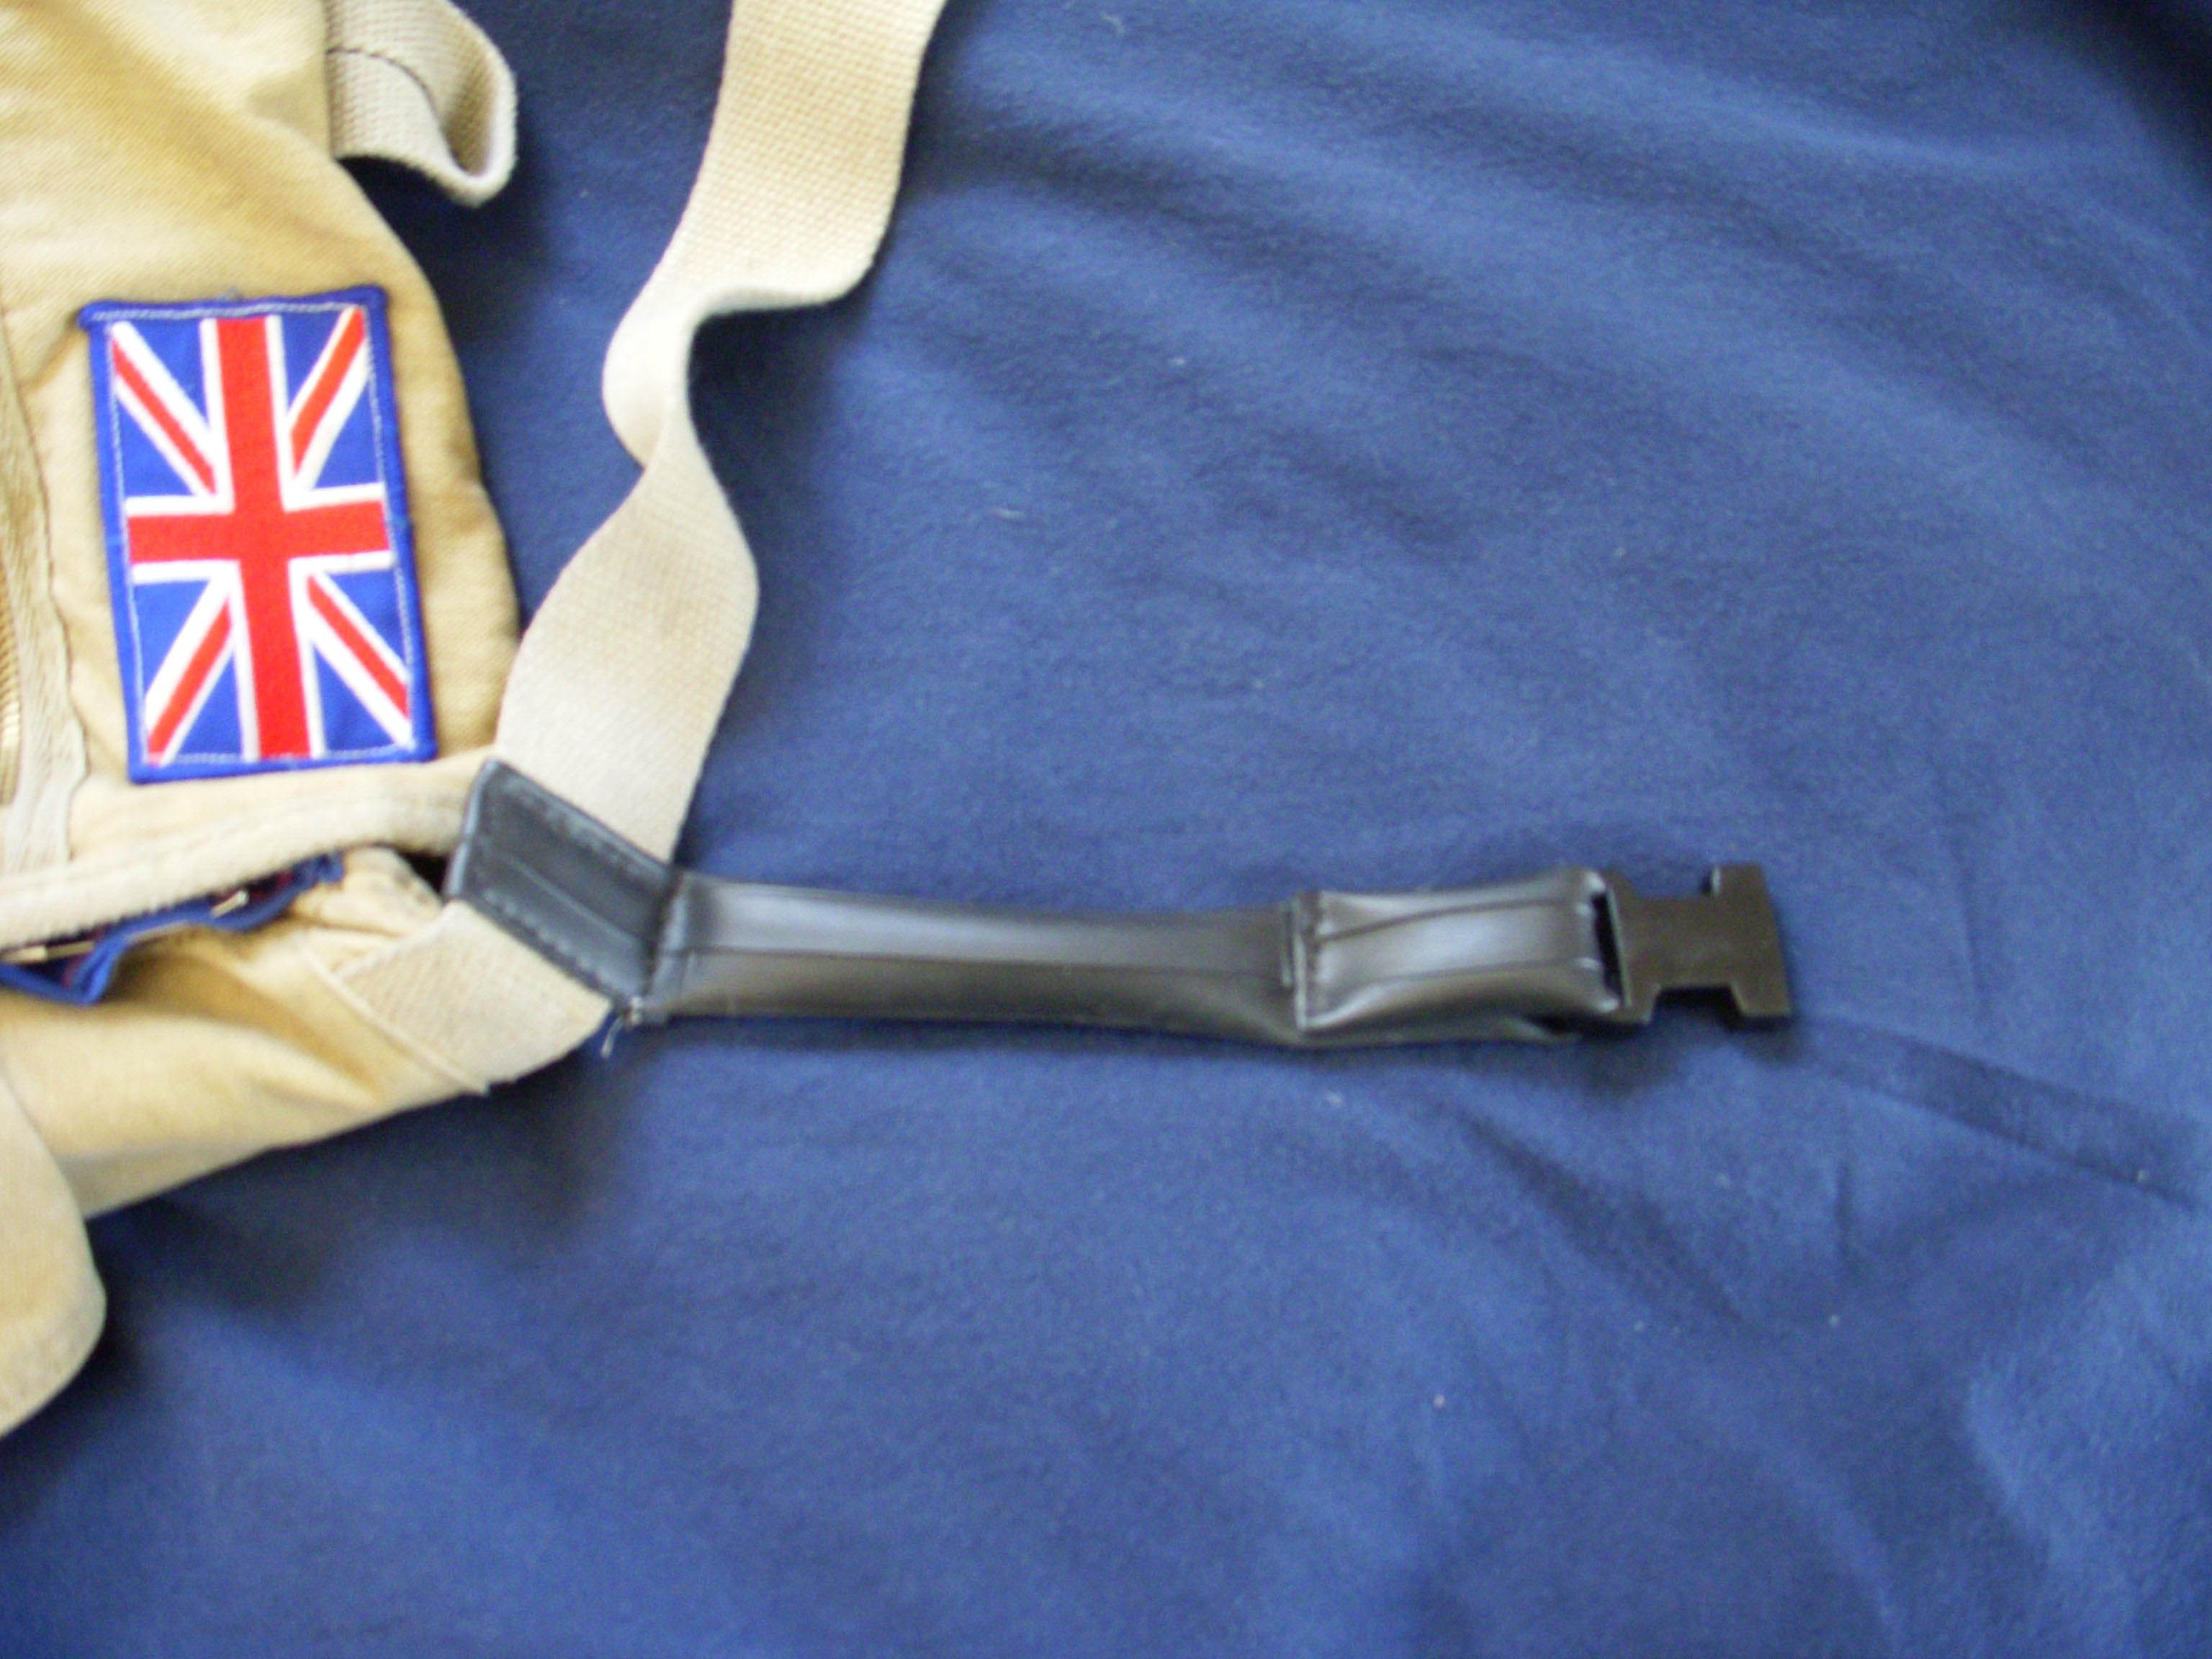
 Take the remaining section of tube and slide it through the “O” shaped piece on the other side of the strap and tape that in place too. You don’t have to worry about cutting the ends just yet, first you want to sew both ends to the strap using your dental floss. A thimble helps, because pushing a needle through tire tubing is tough.
Next, find a way to clip the ends together. I used the clips from an old backpack that had been demolished you can buy clips like that for 1-3 dollars at your local sewing store. Sew the fixed end to the short section of tube and slide the adjustable end onto the longer section. Try it on. Once you’ve got it roughly sized, cut the extra tubing but leave enough extra that you can adjust it later.
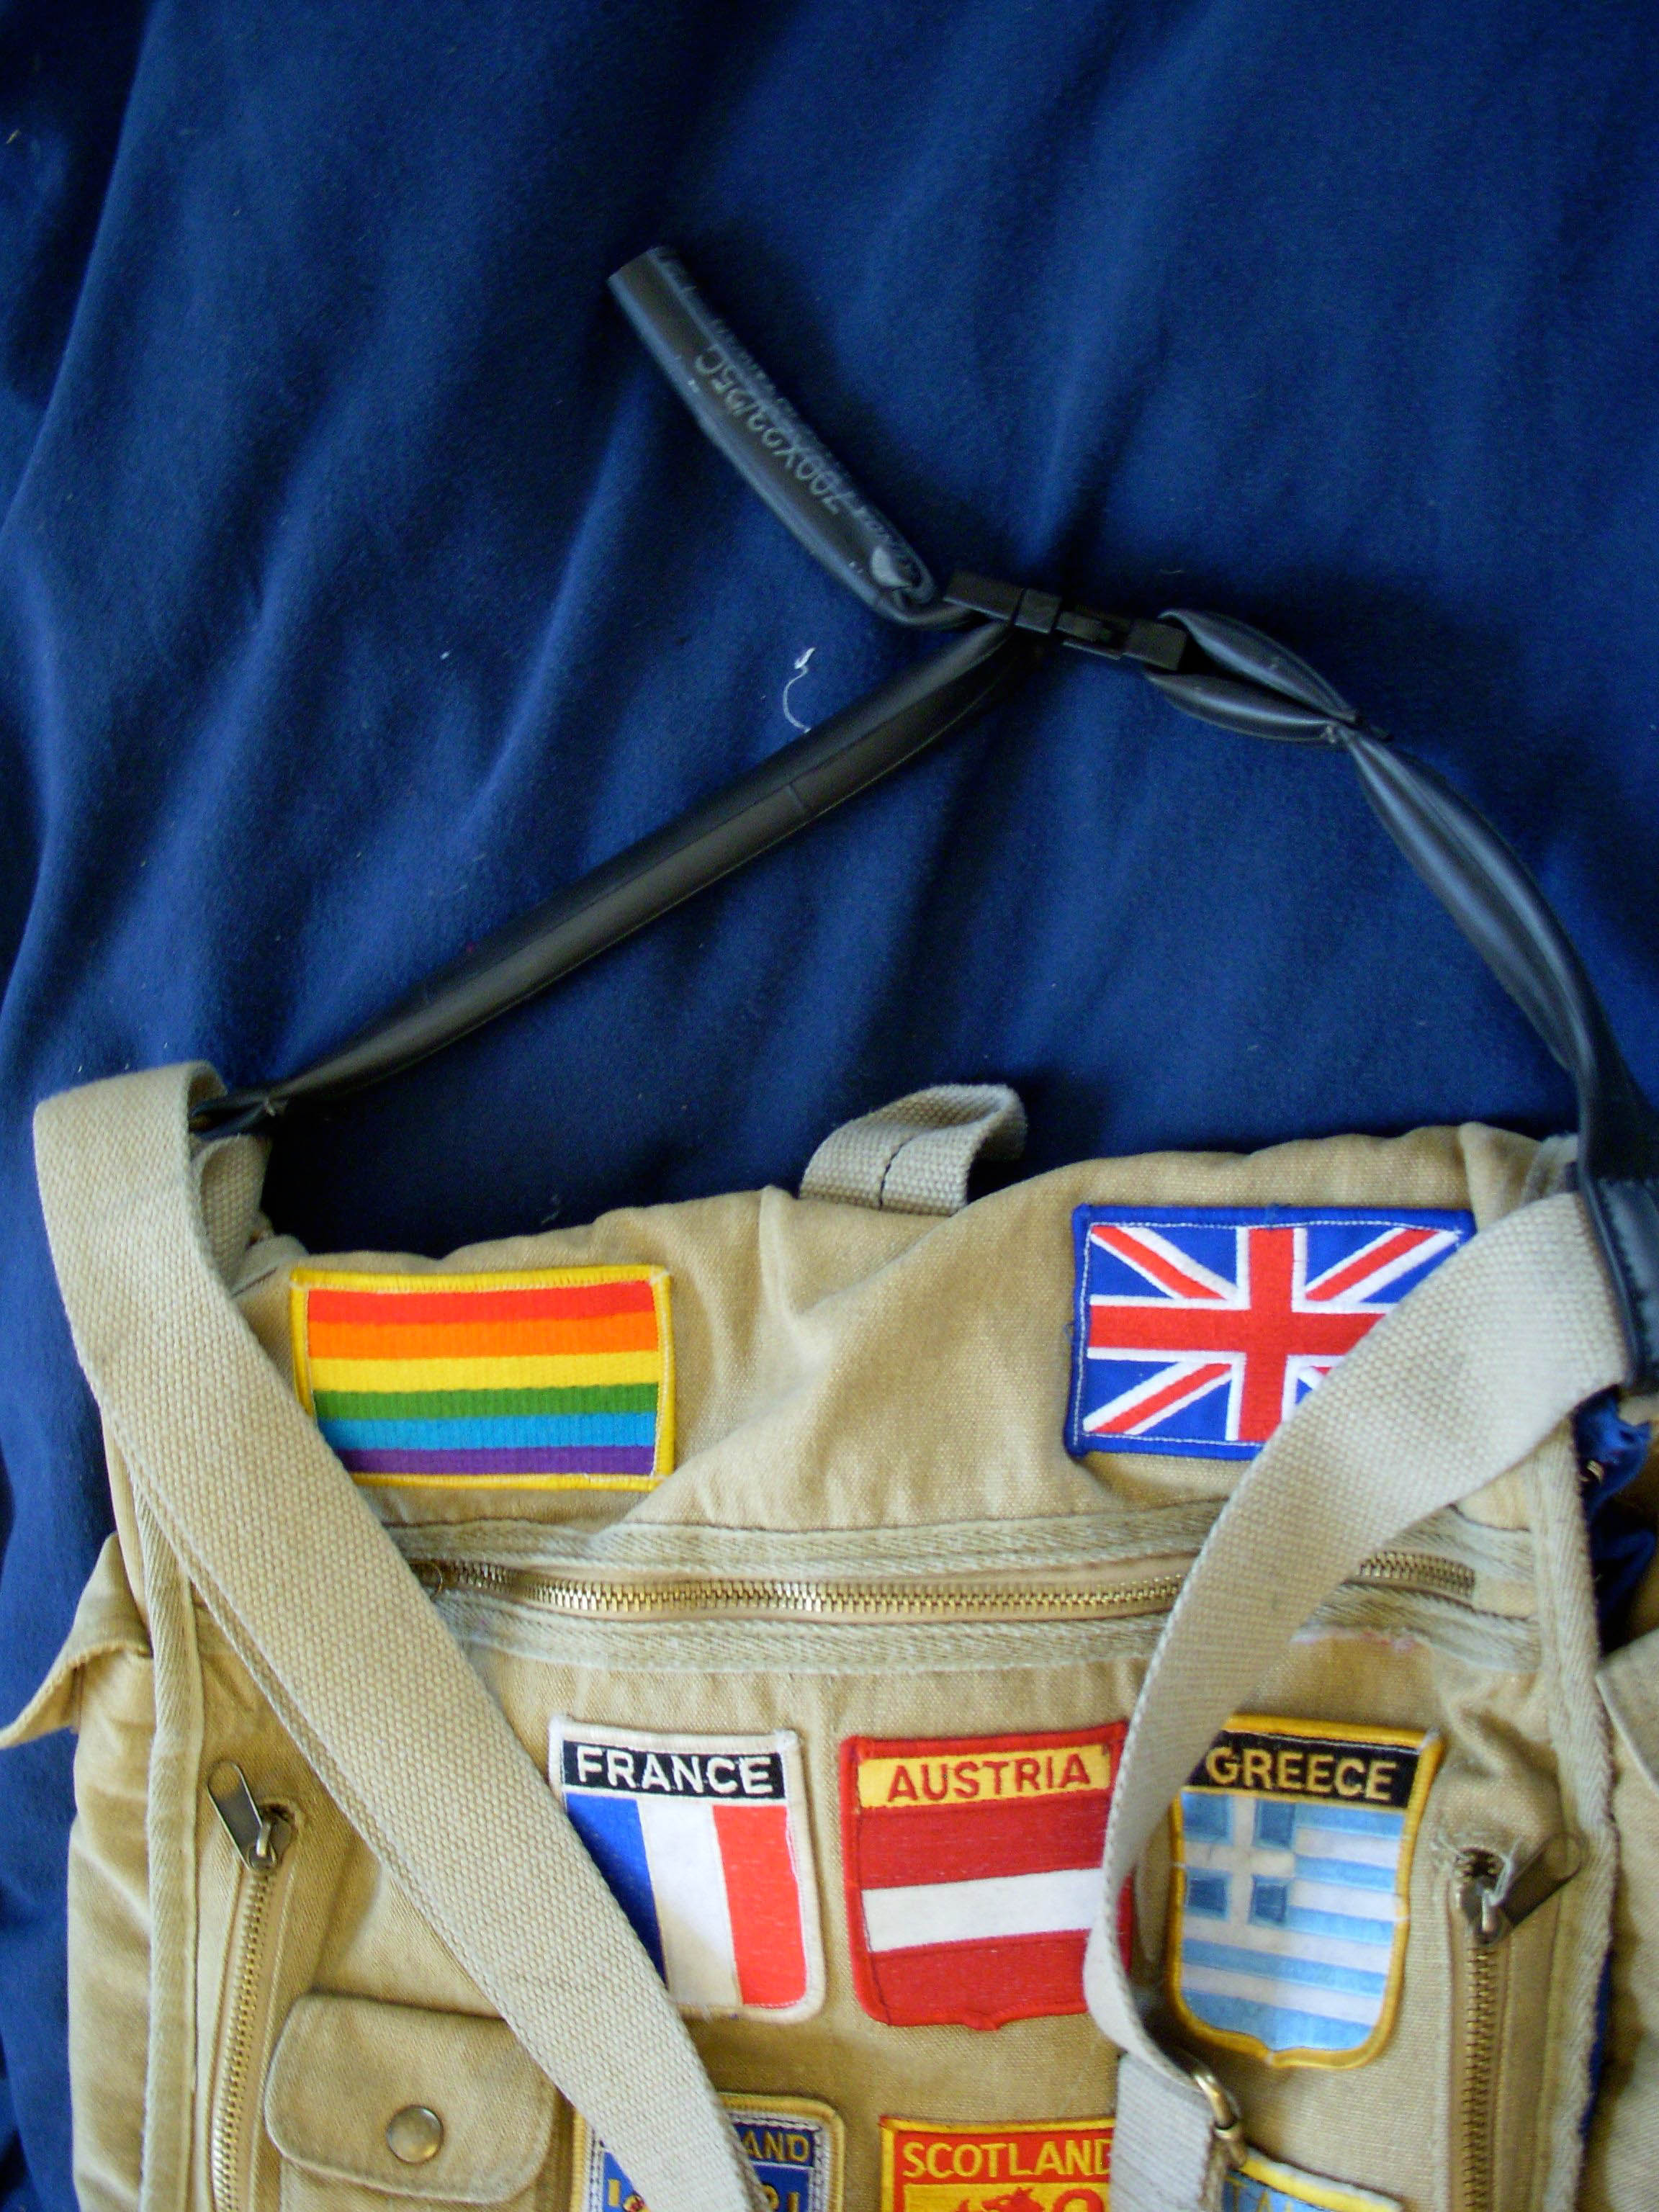 If you want your bag to rest at a different angle, try attaching one of the pieces of tubing to the side of your bag. The positioning all depends on the bag and where you want it to fall on your body.
One tube was enough for me to modify both of my messenger bags into bike-friendly packs. An added benefit is that the help shift the pack’s weight so it’s less of a strain on your shoulder. Using tire tubes is great because they’re not only a creative way to recycle, but they’re also water resistant, stretchy and durable. And since they’re sewn on with dental floss, they’re not going anywhere.
Want to see more cool things done with tire tubes? Check out this cool artist who makes jewelry with them.
Photo Credit: Elizabeth Byrne

Elizabeth, I am always blown away with your DIY craftiness. I’m totally sharing this with my partner because he wears a messenger bag and rides a bike.
Thanks Serena. Necessity is the mother of invention, right? One day I decided my bag needed a chest strap and none of the scrap fabric I had seemed to be the right combination of tough and stretchy, but I had a busted tube I’d been trying to think of a use for and lo and behold, I had my perfect material. It’s a super simple hack, and it’s incredibly durable. Dental floss is also super convenient for fixing practically everything (right up there with duct tape and WD-40).
And Windex everything, right? ;^)